Android Material App intro (part 2)
Welcome to the second Second part of the tutorial "How to create Android Material App intro".
In the previous part, we finish all of our XML code. In this part, we are going through the Java code and Finished the app intro.
Lets Start-
First, open the newly created activity java file.
add those line
See this post: Android Common Code for support Java 8 in your project
We need to save our activity is laughed or not. After launch activity successfully we save it on the sharedPreference so that we can prevent further launch this activity.
That's it. we now finished creating our app intro
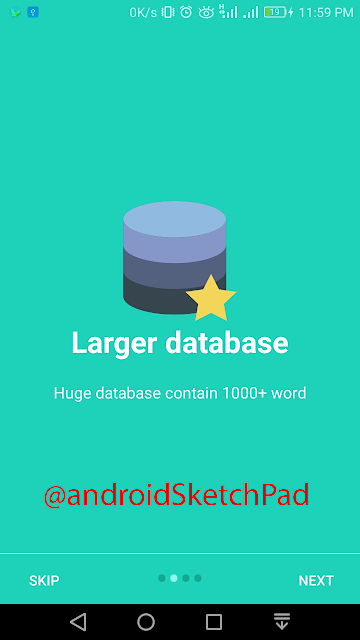
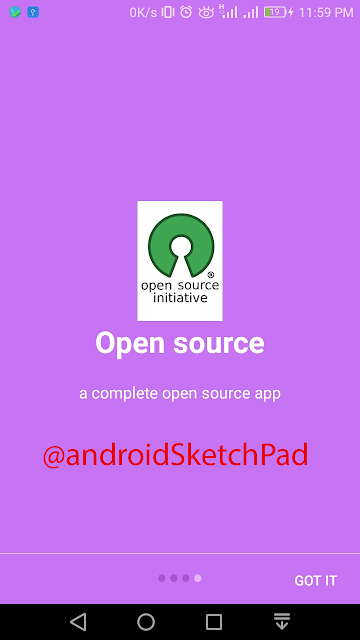
See some final Screen short:
Thank you for reading this post.
Happy coding.
In the previous part, we finish all of our XML code. In this part, we are going through the Java code and Finished the app intro.
Lets Start-
First, open the newly created activity java file.
add those line
private ViewPager viewPager;
private LinearLayout dotsLayout;
private int[] layouts;
private Button btnSkip, btnNext;
We use vector drawable so we need to support vector drawable. link make notification bar transparent but this code must add before calling the setContentView() method.
if (Build.VERSION.SDK_INT >= 21) {
  getWindow().getDecorView().setSystemUiVisibility(View.SYSTEM_UI_FLAG_LAYOUT_STABLE
  | View.SYSTEM_UI_FLAG_LAYOUT_FULLSCREEN);
}
initialize those view that's we create earlier in the post
viewPager = (ViewPager) findViewById(R.id.view_pager);
dotsLayout = (LinearLayout) findViewById(R.id.layoutDots);
btnSkip = (Button) findViewById(R.id.btn_skip);
btnNext = (Button) findViewById(R.id.btn_next);
initialize layout array with all layout ids
layouts = new int[]{
  R.layout.welcome1,
  R.layout.welcome2,
  R.layout.welcome3,
  R.layout.welcome4
};
Create a method addBottomDots() and call it on the onCreate()
private void addBottomDots(int currentPage) { TextView[] dots = new TextView[layouts.length]; int[] colorsActive = getResources().getIntArray(R.array.array_dot_active); int[] colorsInactive = getResources().getIntArray(R.array.array_dot_inactive); dotsLayout.removeAllViews(); for (int i = 0; i < dots.length; i++) { dots[i] = new TextView(this); dots[i].setText(Html.fromHtml("•")); dots[i].setTextSize(35); dots[i].setTextColor(colorsInactive[currentPage]); dotsLayout.addView(dots[i]); } if (dots.length > 0) dots[currentPage].setTextColor(colorsActive[currentPage]); }call on the onCreate()
addBottomDots(0);create another method name changeStatusBarColor() and call this on the onCreate()
private void changeStatusBarColor() {
  if (Build.VERSION.SDK_INT >= Build.VERSION_CODES.LOLLIPOP) {
  Window window = getWindow();
  window.addFlags(WindowManager.LayoutParams.FLAG_DRAWS_SYSTEM_BAR_BACKGROUNDS);
  window.setStatusBarColor(Color.TRANSPARENT);
  }
  }
call on the onCreate()
changeStatusBarColor();Now create an adapter class
public class MyViewPagerAdapter extends PagerAdapter {

        private LayoutInflater layoutInflater;

        private MyViewPagerAdapter() {

        }

        @Override
        public Object instantiateItem(ViewGroup container, int position) {
            layoutInflater = (LayoutInflater)
                         getSystemService(Context.LAYOUT_INFLATER_SERVICE);

            View view = null;
            if (layoutInflater != null) {
                view = layoutInflater.inflate(layouts[position], container, false);
            }
            container.addView(view);

            return view;
        }

        @Override
        public int getCount() {
            return layouts.length;
        }

        @Override
        public boolean isViewFromObject(View view, Object obj) {
            return view == obj;
        }


        @Override
        public void destroyItem(ViewGroup container, int position, Object object) {
            View view = (View) object;
            container.removeView(view);
        }
    }
we need to create OnPageChangeListener.
private final ViewPager.OnPageChangeListener viewPagerPageChangeListener
                                    = new ViewPager.OnPageChangeListener() {

        @Override
        public void onPageSelected(int position) {
            addBottomDots(position);

            // changing the next button text 'NEXT' / 'GOT IT'
            if (position == layouts.length - 1) {
                // last page. make button text to GOT IT
                btnNext.setText(getString(R.string.start));
                btnSkip.setVisibility(View.GONE);
            } else {
                // still pages are left
                btnNext.setText(getString(R.string.next));
                btnSkip.setVisibility(View.VISIBLE);
            }
        }

        @Override
        public void onPageScrolled(int arg0, float arg1, int arg2) {

        }

        @Override
        public void onPageScrollStateChanged(int arg0) {

        }
    };
now create an instance of our new adapter class
MyViewPagerAdapter myViewPagerAdapter = new MyViewPagerAdapter();
viewPager.setAdapter(myViewPagerAdapter);
viewPager.addOnPageChangeListener(viewPagerPageChangeListener);
create an another method name launchHomeScreen()
private void launchHomeScreen() {
    finish();
}
another method name getItem()
private int getItem(int i) {
    return viewPager.getCurrentItem() + i;
}
now set onClick listener of button
btnSkip.setOnClickListener(v -> launchHomeScreen());
btnNext.setOnClickListener(v -> {
            // checking for last page
            // if last page home screen will be launched
            int current = getItem(+1);
            if (current < layouts.length) {
                // move to next screen
                viewPager.setCurrentItem(current);
            } else {
                launchHomeScreen();
            }
        });
Note: I use the lambda expression.
See this post: Android Common Code for support Java 8 in your project
We need to save our activity is laughed or not. After launch activity successfully we save it on the sharedPreference so that we can prevent further launch this activity.
SharedPreferences preferences = getSharedPreferences("APP_OPEN_FIRST_TIME",MODE_PRIVATE);
SharedPreferences.Editor editor = preferences.edit();
editor.putBoolean("APP_INTRO_STATUS",true);
editor.apply();
That's it. we now finished creating our app intro
See some final Screen short:
That's it:
Hope you can create your own app intro.Thank you for reading this post.
Happy coding.


No comments :